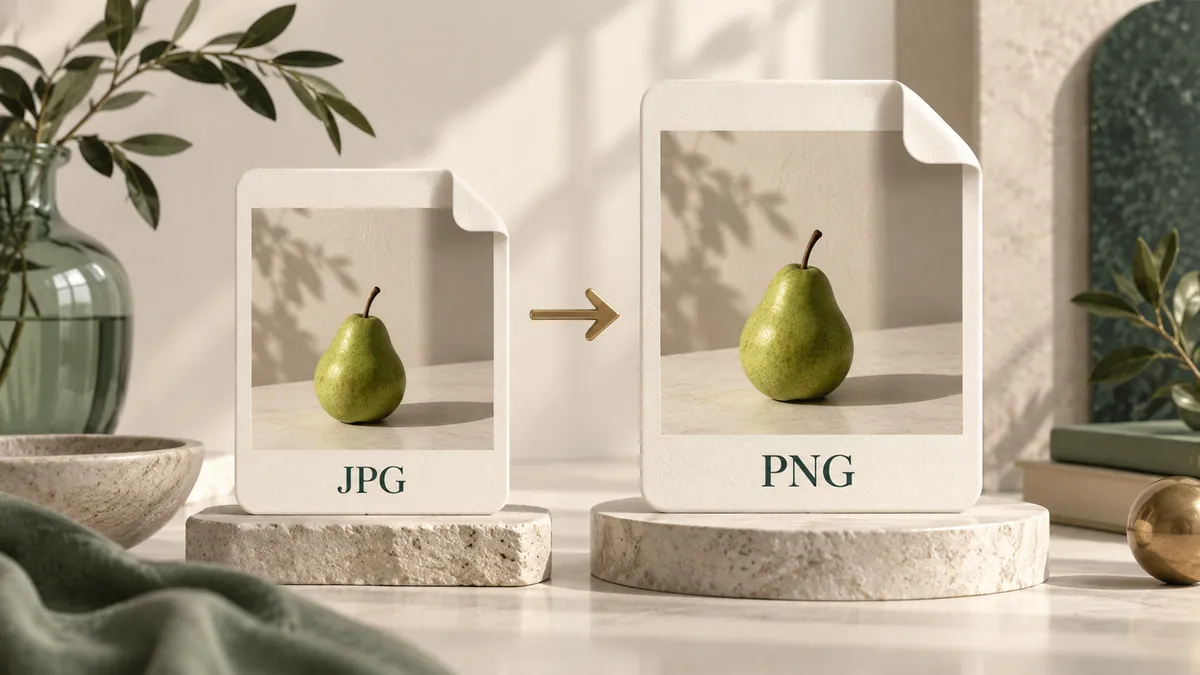
JPG and PNG tiles show the same pear photograph with its opaque background intact.Original concept illustration. It explains the workflow; it is not a measured conversion result.
A larger PNG is often the expected result. File size measures the encoded data, not how many useful details an image contains.
Different compression, the same dimensions
A lossy WebP stores a compact approximation of an image. When decoded, it becomes a full grid of pixels. PNG saves that grid without further lossy compression. Complex textures and photographic noise can make the PNG much bigger.
The PNG was encoded from the decoded WebP, so this compares the same decoded image. Both retain 640 × 400 pixels. The source is a generated texture owned by this project. Results vary with content, quality settings and encoder; PNG is not always larger.
Choose for the task
Keep PNG when transparency or a PNG-compatible workflow matters. For photographs without transparency, JPG may be a better fit. Reducing the quality setting of a JPG or WebP changes compression, not dimensions. This converter does not promise a target file size.
Understand the bytes, then choose your next action
A larger output can be correct. The important question is whether it meets the job: transparency, readable details, destination compatibility and a usable size.
7 sections4 min readUpdated
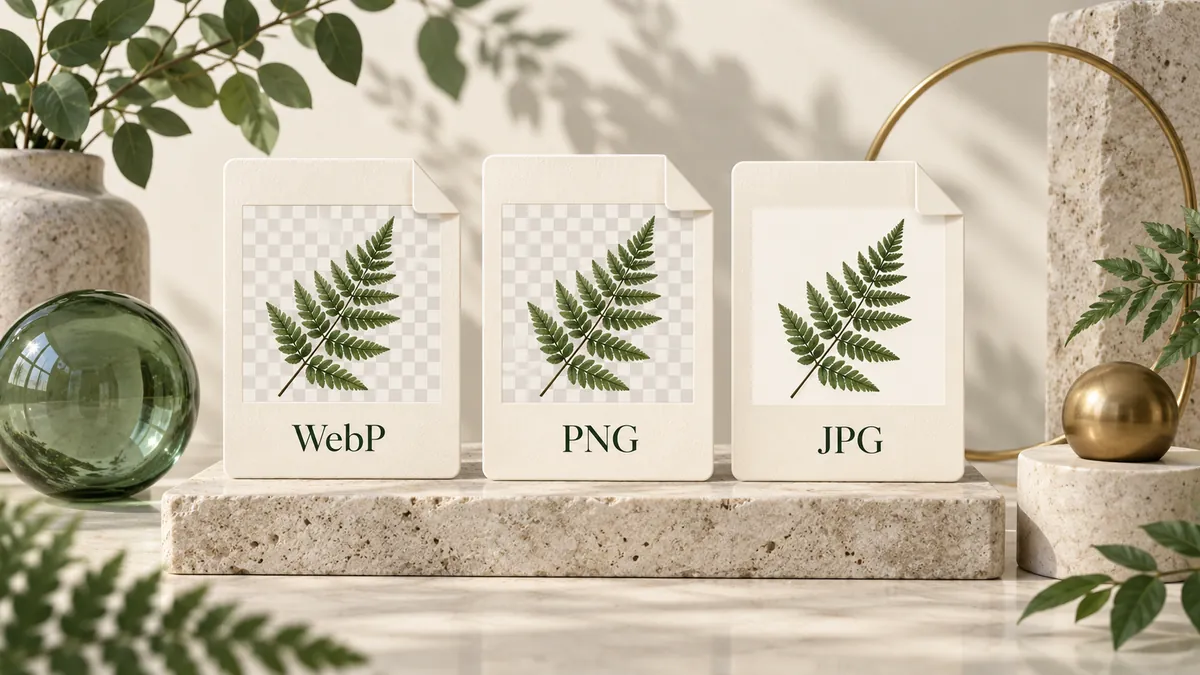
WebP, PNG and JPG image cards compare transparent and opaque backgrounds.Original concept illustration. It explains the workflow; it is not a measured conversion result.
In this guide +01
Three sizes that should not be confused
Pixel dimensions describe the grid: for example, 1600 × 900. Encoded bytes describe the file on disk or in a download. Working memory describes what the browser needs while decoding and converting. Changing the encoding can alter the second without changing the first, while the third can be much larger than either source or output file.
A file manager reports encoded size. A preview fitted to the page shows a display size. Neither tells you the peak memory consumed by the conversion. Use the right measurement for the problem: byte size for a form cap, dimensions for a layout requirement, and a smaller processing group when device memory is the constraint.
Two equally sized images can produce very different PNG files. A flat illustration may contain large regions of repeated colors; a detailed texture may vary from pixel to pixel. Compression has different amounts of repetition to work with. Transparency, color variation and the active encoder also influence bytes, so dimensions alone cannot predict the final file size.
Lossy input can contain visible approximations and artifacts that become part of the decoded grid. Storing that grid losslessly does not recover the original scene or preserve the source’s compact coding decisions. This explains why “same visible image” and “same file size” are separate expectations after conversion.
03
Calculate change without confusing it with improvement
Divide output bytes by input bytes to get the size ratio. For the included texture, 679,149 ÷ 84,906 is about 8.00. The PNG has approximately eight times the bytes, not eight times the resolution. To report percentage change, use (output − input) ÷ input × 100. An eightfold output is about a 700% increase, not an 800% increase.
Treat this as a measurement of one supplied example. A comparison is useful when its source, dimensions and encoder are clear. It becomes misleading when the number is applied to every image or presented as a quality score. Your own file should be measured after conversion, with appearance checked separately.
04
Why a small file can still need substantial memory
Encoded file size and working memory measure different things. A 4000 × 3000 image contains 12 million pixels. One ordinary RGBA buffer uses four bytes per pixel: 48,000,000 bytes, or about 45.8 MiB. Decoding, previewing, encoding and retaining the result can need additional buffers. This calculation is a baseline, not a measured peak.
That is why a compressed file below the byte limit may still exceed the pixel limit. Start with one large image on a phone, save it, then clear the queue before the next group. Closing other heavy tabs can help, but passing a limit check does not guarantee that every device has enough memory to finish.
05
What to do with a strict upload cap
Read the full requirement first. If PNG and the current dimensions are mandatory, a JPG conversion will not satisfy it. A separate PNG optimization workflow may reduce unnecessary overhead; resizing changes pixels and is another decision. This converter does not offer either a guaranteed target byte size or automatic dimension reduction.
If the destination accepts JPG for an opaque photo, compare that output. If it accepts WebP, compare a WebP delivery at a visually acceptable setting. Keep a transparent master before making an opaque copy. Do not package an oversize PNG in ZIP unless the destination explicitly accepts archives; the extracted image still has its original byte size.
How to compare formats without mixing up the variables
Use the same source and the same visible dimensions for each candidate. A 600 px thumbnail and a 2400 px image are not a useful format-only comparison. Note the encoder and quality setting, then compare appearance as well as bytes. The same quality number across two encoders does not establish equal visual quality.
Include demanding content: small text for a diagram, gradients for an illustration, and hair or fine texture for a photograph. If transparency matters, use the same background when viewing the candidates. Record which sample meets your requirements rather than turning a result from one easy image into a universal size-reduction claim.
A successful download is the start of the final check. Open the output in the application that will actually use it. A slide editor, upload form and image viewer can handle the same file differently. Checking the intended destination catches problems that the browser preview alone cannot reveal.
Confirm the extension and that the destination opens the image without an error.
Check width, height and visible orientation; compare them with the original.
Inspect fine text, diagonals, hair, shadows and gradients at 100% zoom.
Place transparent graphics on both a light and a dark background.
Compare the actual byte size with the destination limit before submitting.
Keep the source until every downloaded file has been checked.
Your privacy choices
Before you choose, this version makes necessary site requests only. Agree enables the optional preferences listed in Manage Options. It does not accept the Terms or grant rights to your images. Change your choice anytime in Cookie Settings.