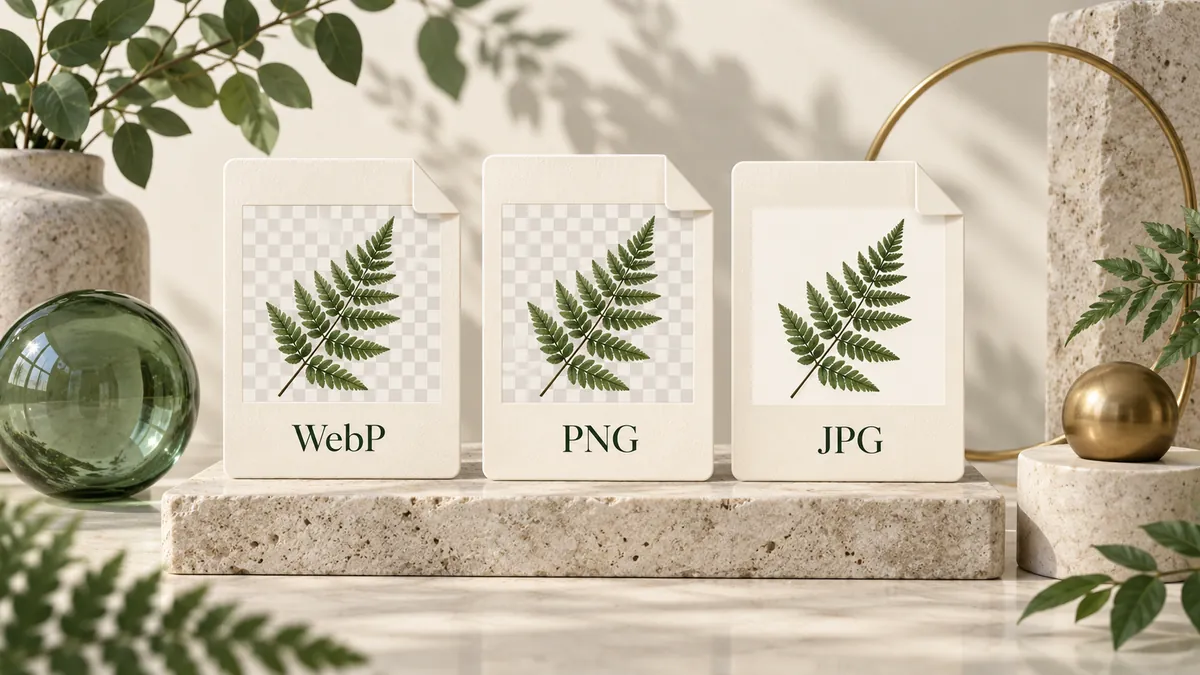
WebP, PNG and JPG image cards compare transparent and opaque backgrounds.Original concept illustration. It explains the workflow; it is not a measured conversion result.
The right format depends on what your image needs to do. Start with transparency, detail and the app that will open it.
Format
Transparency
Compression
Useful for
WebP
Yes
Lossy or lossless; this tool exports lossy color
Web images in compatible apps
PNG
Yes
Lossless
Logos, screenshots, transparent graphics
JPG / JPEG
No
Lossy
Photographs, broad compatibility
A real example, with an alpha channel
Original illustration generated for this project. Lossless WebP display copy; downloadable samples retain their actual formats. 480 × 320 px.
The PNG is 8,996 B; WebP (quality 82) 4,222 B; JPG (quality 82, white background) 6,886 B. These are actual files made with Sharp/libvips for this illustration, not a prediction for your files. Browser encoders produce different bytes.
Saving a JPEG as PNG keeps the decoded pixels, including any JPEG artifacts. It cannot restore the original camera data or make a background transparent. Use PNG when you need a compatible lossless container, not as an image repair tool.
These tools accept still images only. Animated WebP and APNG are rejected. Working pixels use sRGB where supported; original ICC profiles, HDR and 16-bit precision are not retained. Check the destination app before choosing WebP.
Formats describe capabilities; your source, encoder settings and destination determine the useful result. Use this workflow to make a choice you can explain and verify.
7 sections5 min readUpdated
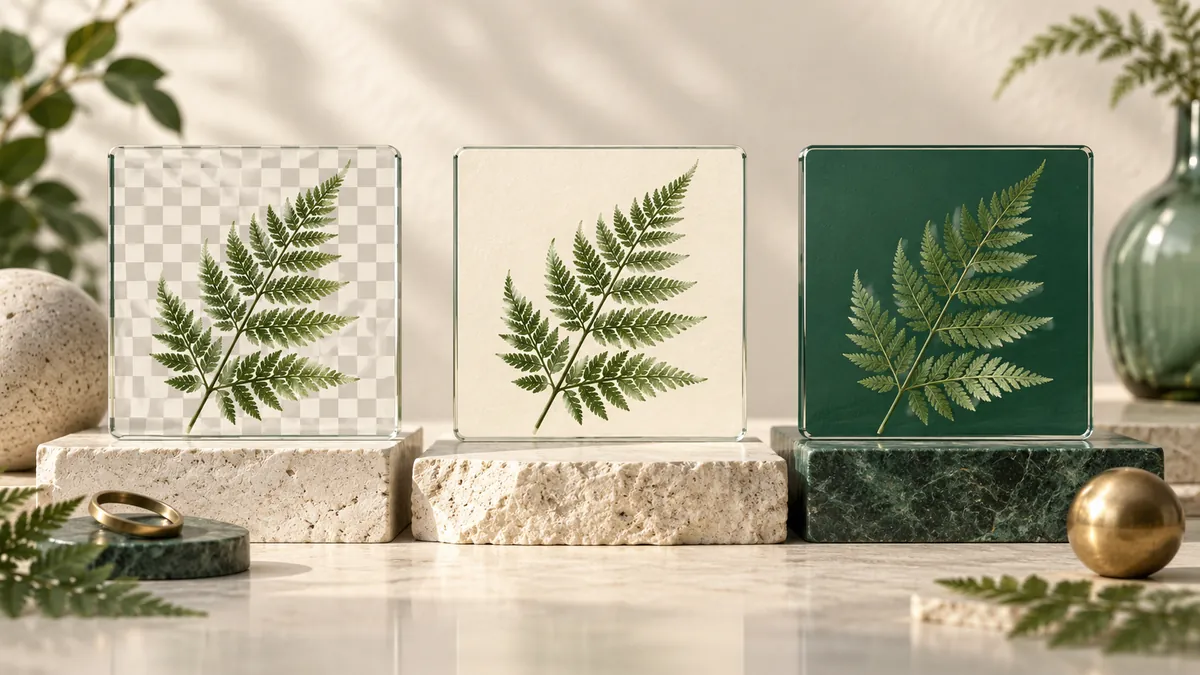
Fern layers on checkerboard, light and dark backgrounds illustrate alpha and opacity.Original concept illustration. It explains the workflow; it is not a measured conversion result.
In this guide +01
Choose in this order: destination, transparency, detail, bytes
First check which formats the receiving application accepts. Then decide whether the image needs transparent pixels. After that, judge how much visible compression change the content can tolerate. Only compare file sizes among candidates that meet those requirements. The smallest unusable file does not help the workflow.
A product cutout can need alpha; a screenshot can need crisp text; an opaque photo can prioritize a compact delivery. Those are different decisions even when all three images share the same width and height. Keep the source and make purpose-specific exports rather than declaring one format best for every image.
Destination accepts the format → the file can enter the workflow.
Alpha is required → keep a format and export path that retain transparency.
Fine detail matters → compare actual outputs at the intended size.
Byte cap is strict → verify the saved file, not a predicted percentage.
02
Transparency: what the checkerboard really means
Transparency is information attached to pixels, not a white background that the converter can recognize and erase. A transparent logo can sit over a presentation, a colored product card or a dark website without bringing a rectangular backdrop with it. An opaque white pixel stays white after conversion.
The preview uses a checkerboard to make empty and partially transparent areas visible. The pattern belongs to the interface and is not added to the downloaded image. After downloading, place the result on both a light and a dark background. This reveals pale fringes, baked-in backgrounds and edges that a white preview can hide.
Alpha channel → controls pixel opacity → allows the background underneath to show through.
How to compare formats without mixing up the variables
Use the same source and the same visible dimensions for each candidate. A 600 px thumbnail and a 2400 px image are not a useful format-only comparison. Note the encoder and quality setting, then compare appearance as well as bytes. The same quality number across two encoders does not establish equal visual quality.
Include demanding content: small text for a diagram, gradients for an illustration, and hair or fine texture for a photograph. If transparency matters, use the same background when viewing the candidates. Record which sample meets your requirements rather than turning a result from one easy image into a universal size-reduction claim.
A master is the source you keep for later editing and exports. A delivery copy is tailored to one destination. A PNG master can generate a WebP for a compatible website and an opaque JPG for a form. Saving both deliveries does not require replacing the source. Organize them by purpose so a later edit starts from the strongest available image.
Avoid a chain such as JPG → WebP → JPG for repeated revisions when the original is available. Both delivery steps can be lossy. A final PNG can stop further lossy encoding of the working pixels, but it cannot reverse earlier damage. If precise color profiles or archival metadata matter, a browser canvas conversion is not a replacement for your specialist master workflow.
05
Dimensions, orientation and the size of the preview
Changing the format does not resize or crop the image. A 2400 × 1600 landscape stays at that pixel size. An orientation tag can require a rotation or a reflection; when a portrait is rotated into its visible orientation, width and height may exchange places. That is an orientation correction, not a reduction in resolution.
The preview is fitted to the available space and can use a smaller display copy. Judge output dimensions from the downloaded file, not from how large it appears on your screen. For print work, also check the required physical size and resolution in your design application; a format conversion does not prepare a complete print specification.
06
EXIF, GPS, color profiles and what is not preserved
The output is a newly encoded image. Original EXIF, GPS and XMP records are not copied; an encoder may add its own technical fields. Orientation is applied to the image rather than relying on the original orientation tag in the download. Keep the original if you need camera settings, capture dates or an archival record.
Working pixels use an sRGB canvas where supported. Exact source ICC profiles, HDR information and 16-bit precision are not retained. A screen that looks similar is not proof of identical color data. For calibrated print, scientific measurement or preservation of high-bit-depth originals, use a workflow designed for those requirements.
07
A practical check before you use the result
A successful download is the start of the final check. Open the output in the application that will actually use it. A slide editor, upload form and image viewer can handle the same file differently. Checking the intended destination catches problems that the browser preview alone cannot reveal.
Confirm the extension and that the destination opens the image without an error.
Check width, height and visible orientation; compare them with the original.
Inspect fine text, diagonals, hair, shadows and gradients at 100% zoom.
Place transparent graphics on both a light and a dark background.
Compare the actual byte size with the destination limit before submitting.
Keep the source until every downloaded file has been checked.
Your privacy choices
Before you choose, this version makes necessary site requests only. Agree enables the optional preferences listed in Manage Options. It does not accept the Terms or grant rights to your images. Change your choice anytime in Cookie Settings.